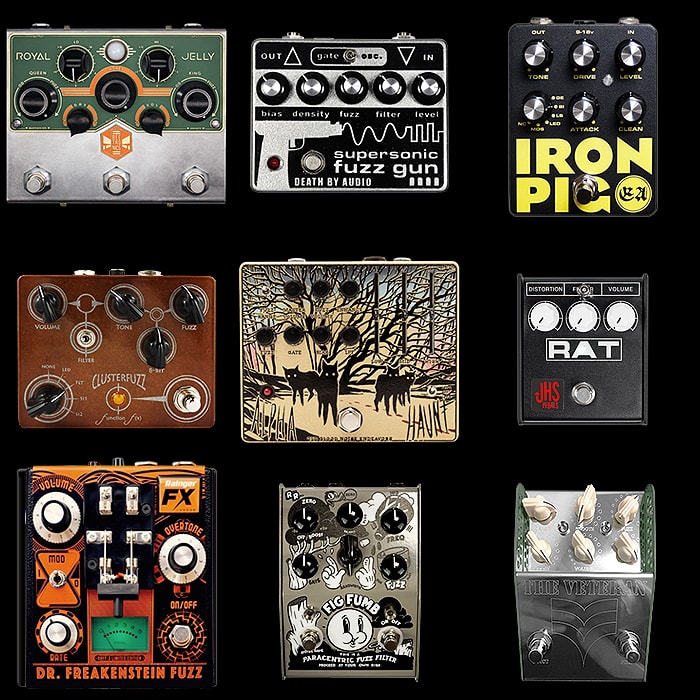
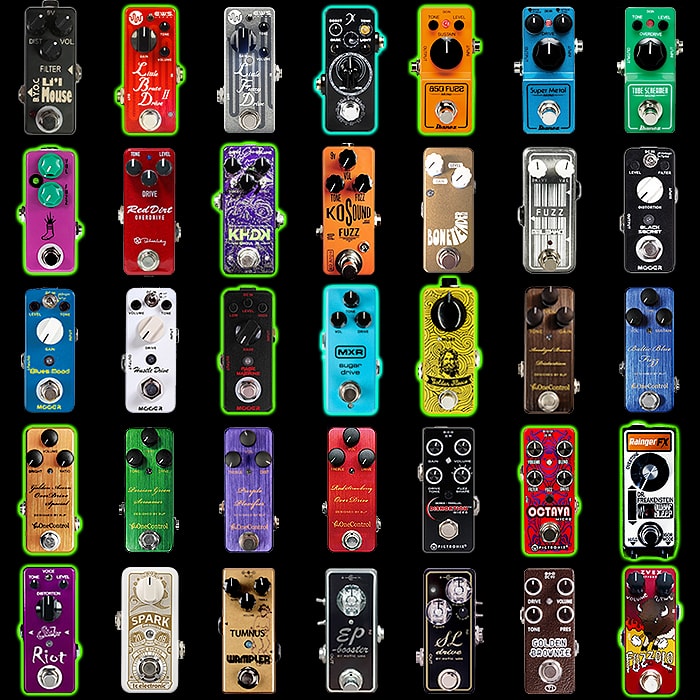
Rainger FX perfects its Dr Freakenstein Fuzz in its most potent and compact iteration to date - featuring multiple dimensions of playback and killer new custom knobs
The Rainger FX Dr Freakenstein / Chop Fuzz is its most celebrated circuit - which dates all the way back to a very custom enclosure 2009 edition which came in a plastic casing, had no footswitch, and of which only 50 were made. The key focus for many of the earlier models was the fairly unique (for pedals) Knife / Blade Switch which turned the power to the pedal on. This was a key feature of the larger sized Dr Freakenstein Fuzzes until those parts became impossible to source in and around 2020/21.
The newest iteration as the headline says is the most compact and potent version of this fuzz to date, and where the new layout doesn’t miss the iconic knife switch at all!
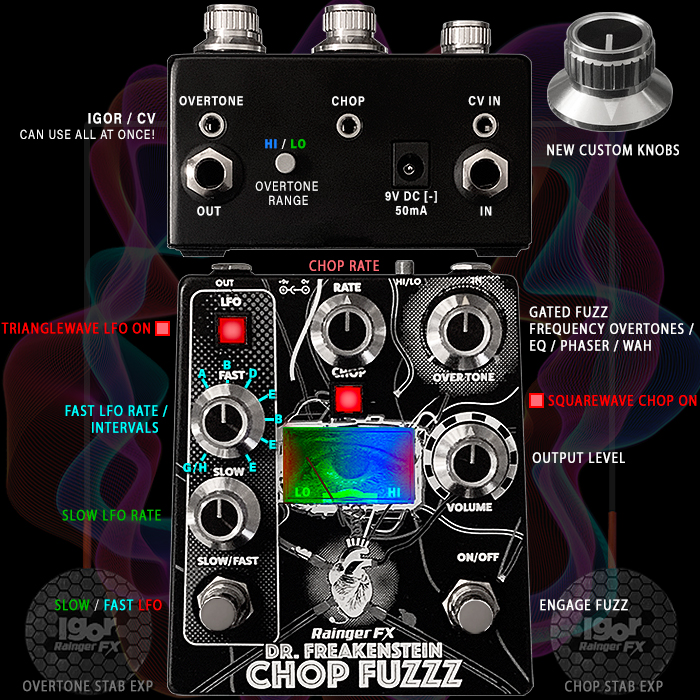
At its core this is a Gated Dual Modulation Fuzz with a hard SquareWave Chop Modulation, and a softer TriangleWave LFO Modulation with Dual Speed options.
I tend to approach this pedal in 3 key sections per the 3 main columns of controls, as follows :
CORE GATED FUZZ + OVERTONES
Right-hand column + Hi/Lo switch on rear of enclosure
Controls : Overtone, Volume, Hi/Lo rear switch, On/Off Footswitch
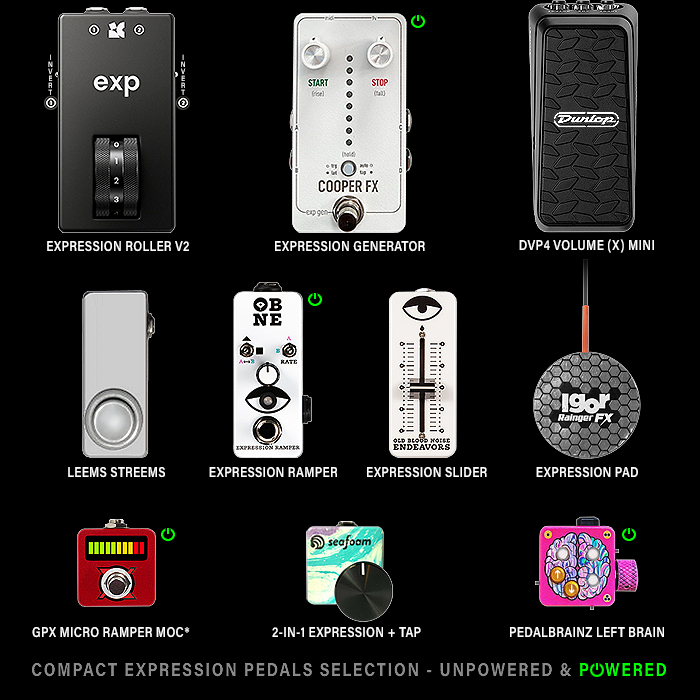
Expression : Momentary Overtone / Frequency Intensity Stabs via Igor connected to ’Overtone’ port on rear of pedal
NOTE that the Hi/Lo switch changes the colour of the VU display - Hi = Blue, and Lo = Green - which correspond to different frequency ranges / EQ for the Overtones
SQUAREWAVE HARD CHOP MODULATION
Middle column knob and light-up switch
Controls : Rate, Chop On/Off switch
Expression : Momentary Chop Stabs via Igor connected to ’Chop’ port on rear of pedal
TRIANGLEWAVE SOFTER LFO MODULATION
Left Column light-up switch, 2 Speed knobs, and Speed Change Footswitch.
Controls : LFO On/Off switch, Fast, Slow, Slow/Fast Footswitch
So at the minimum you can just activate the right-hand column controls for the Core Gated Fuzz - and then you can add the Chop and LFO Modulations - first I would suggest independently and then try to figure out the best combination of all 3.
The combinations of Option and Range switches variously unleash further flavours and textures - and with two Igor expression pads connected you can control those primary and secondary effects somewhat more granularly. There are 3 expression ports on the rear of the pedal - one each for Overtone and Chop, and a third for CV cable input. All 3 ports can be deployed simultaneously - so you really need 2 x Igors to get the most out of this!
Hopefully the David Rainger demo of this pedal will emerge relatively soon (yes indeed!) - as he is the absolute master of this format and can uncover interesting tones and textures like no other. The first time I visited his Willesden Junction studio - he was testing / noodling on a single one of the new Chop Fuzzes for nearly 90 minutes - I kind of wish I had recorded the session as there were so many cool sounds that came out of that device then.
I’ve only had my Chop Fuzz for a relatively short period, and am not quite as adept yet at unearthing all those killer tones David demonstrated so easily for me - there’s obviously a knack and a learning curve. It has to be said that you need some patience and due diligence for this pedal - as it’s so much about the dial-in. You need to develop a sort of safe-cracker precision as when you’re seeking those interesting Overtone and Fast LFO harmonics - it often involves the minutest of movements to hit the sweet spot. Like trying to dial in a favourite pirate radio station back in the 90’s!
With David’s help I’ve included the key Intervals on the Fast LFO dial.
You will for sure spend the most time on the Overtone and Fast LFO controls - in tandem with the Hi/Lo range push-button switch on the rear of the pedal. The Chop and the LFO are more about timing and rhythm patterns - and it takes quite a while to dial in the Chop satisfactorily when you also have the LFO active. The Chop is so dominant that it kind of can overshadow everything else - so if you want a flavour of the LFO to come into that too - you need to find the exact right combination. It would probably have been nice to have had some kind of Intensity / Mix control for the chop - just so you could soften that slightly when using the LFO in tandem,.
I tended to have Volume at max throughout - while all the other dials varied enormously - 2 o’c - on the Overtone dial sounds especially good to me, and it worked to have Chop at between noon and 1 o’c mostly albeit that dial and both the Fast and Slow knobs - and of course the Main Overtone knob varied enormously. I found several sweet spots, but apart from the huge sound at 2 o’c I have still to lay down where all the sweet spots lie. Winding Overtone down fairly low, and winding back the Volume knob of my guitar also gave me some cool starved tones - where I really had to dig in - for an exaggerated gated effect - where the Fuzz signal cuts out really quickly - actually really cool sounding too. There really are so many tones and textures to be discovered here - the tricky thing is memorising exactly where all those sweet spots occurred - which is still a work in progress for me!
I would say this is most definitely an Intermediate level pedal, as you do need some patience and due diligence to get the most out of it. If you’re prepared to spend some time with it - the results are superb - but you do need to take your time to get to know all those intricate and interesting intersections - and it will be slightly different for each pedal - because of parts variations. I’ve already liaised with David - and we definitely need some recommended ballpark settings here as there’s just so much to get to grips with.
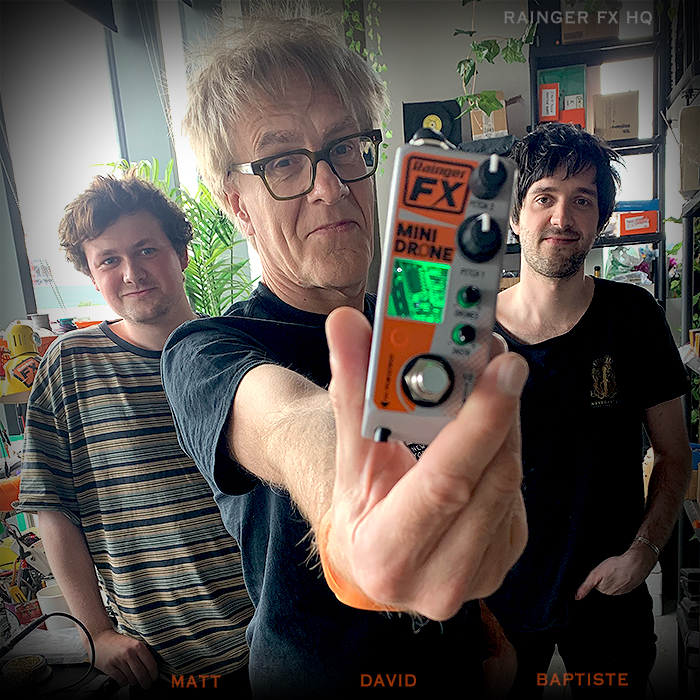
I spent two afternoons with the team a Willesden Junction - which besides David of course - includes Martin Simpson, Prav Rao, Baptiste Bernon and newest member Matt Ayres. Rainger FX Alumni Patrick Smith (Intensive Care Audio), and Nuno Maio (Lusithand Devices) also put in very occasional shifts - while their own brands are very much keeping them very busy nowadays. All the Rainger FX staffers seem to have side projects - so we should expect to see some other equally individual and distinct pedals evolving eventually, and several of these also play in bands!
My own first Dr Freakenstein Fuzz - the DRFF-3 BLE Black Limited Edition from 2017
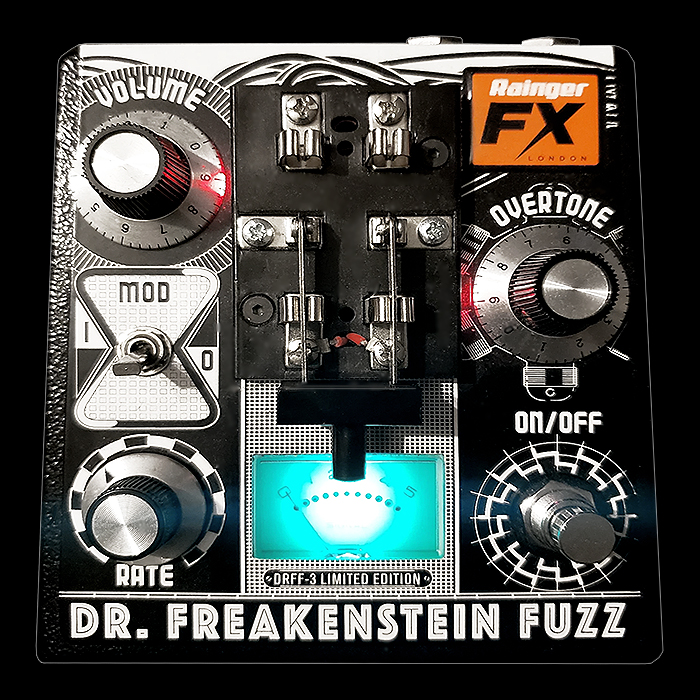
I believe the DRFF-3 edition was initially out in 2011, while there were 2 custom editions - in Black (per mine), and one in Orange - which emerged around 2017. Both of those were killer takes on the early format of the circuit.
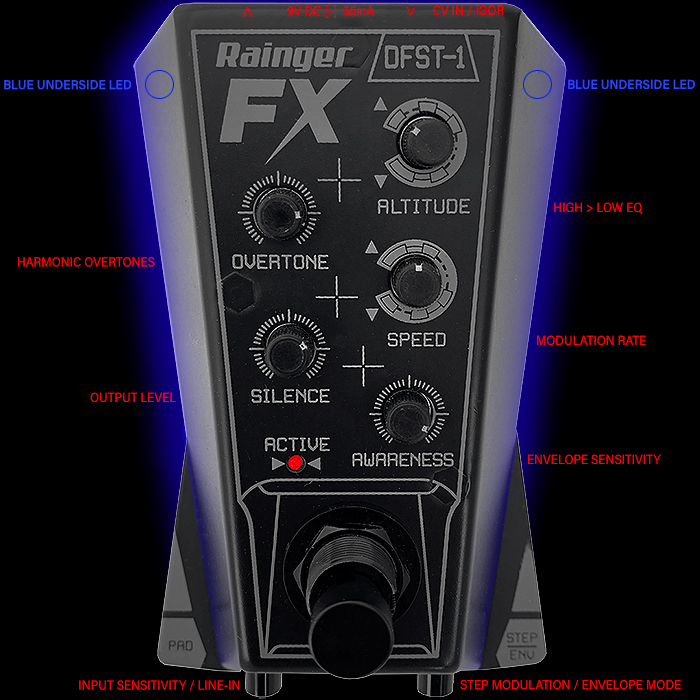
I also acquired a copy of the Limited Mini Stealth DFST-1 Fuzz back in 2021 - which was yet another iteration of the circuit and actually the one that immediately precedes this latest release!
The first MKI Dr Freakenstein Chop Fuzz - from 2019 - still with Knife Switch
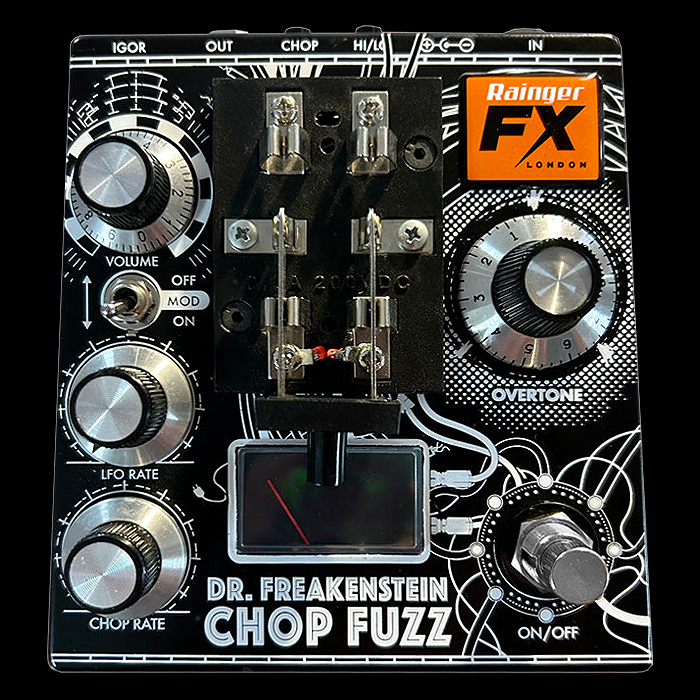
The first early editions of the Dr Freakenstein Chop Fuzz back in 2019 still had the Knife / Blade switch intact, where sourcing that was soon to become an insurmountable challenge - and so that iconic switch was dropped in a later edition - with the rest of the circuit and controls the same as before.
It's cool to compare said version with the newest one - which I've dropped below for just such an exercise!
The Latest Chop Fuzz is smaller, better looking and more potent than ever - and with those really cool Custom Knobs!

It's really cool to be able to compare all 3 'Black' edition DRFF pedals together - to see just how far this format has evolved.
Even though the newest version doesn't have the iconic Knife Switch - I truly think it looks all the better for it - and you're able to cut back on real estate which is actually deployed for a pretty trivial function within the grand scale of the pedal's operation.
I feel this is the finest Rainger FX pedal to date - while it does of course have some stiff competition (Drone Rainger). Every home deserves to have one though!
Here below - and following are some pictures I took during my first visit to the Rainger FX Willesden Junction HQ back in late August I think it was - seems so long ago now! :
Part-populated Chop Fuzz circuit boards
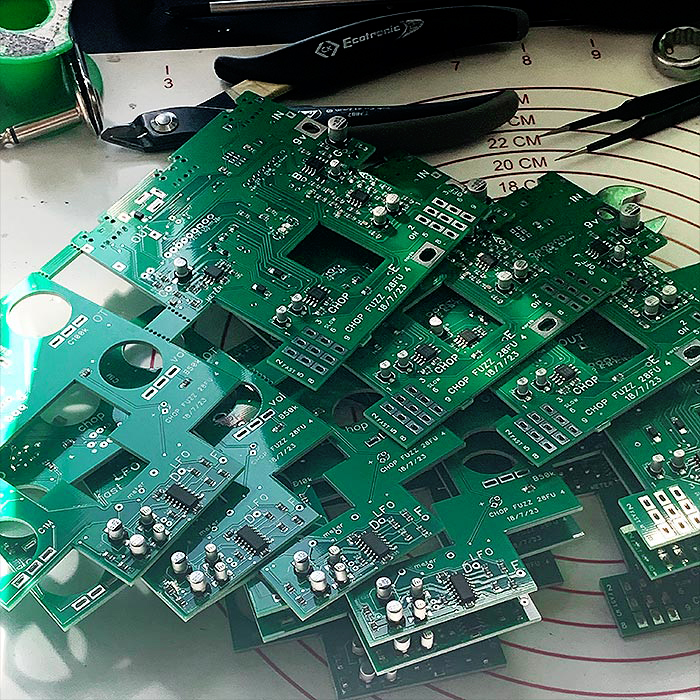
Most of the key parts loaded here - opamps, capacitors and resistors in abundance! Across 2 levels / layers of board of course
The VU-Meters
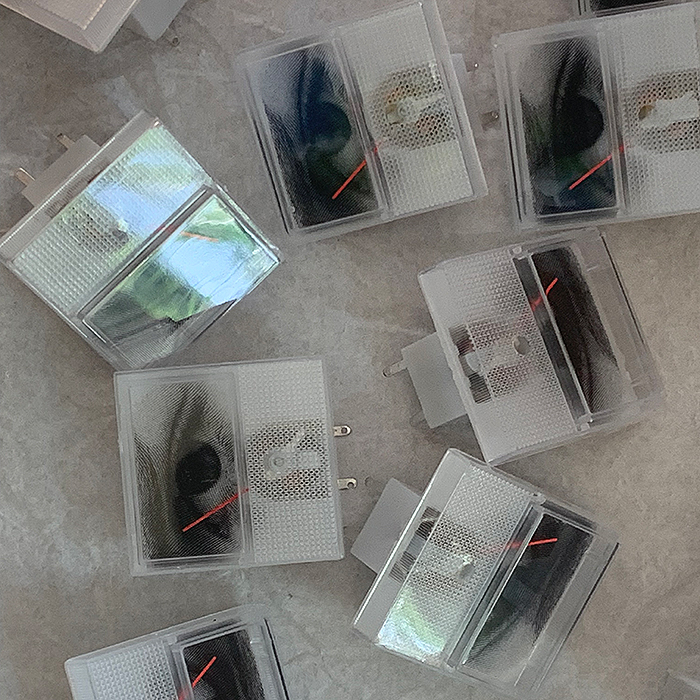
If you recall the earlier models in the range - you will have noted that those had the standard line markers you would expect on such devices. The Rainger FX team has to peel off all those default stickers - and replace them with the Eyeball variety that's been in position for the last few iterations of this circuit. This is one of a number of fairly laborious tasks that goes into the making of this pedal - fiddly work for sure - so props to all of those who worked on labels and stickers!
VU-Meters and Square Buttons Added!
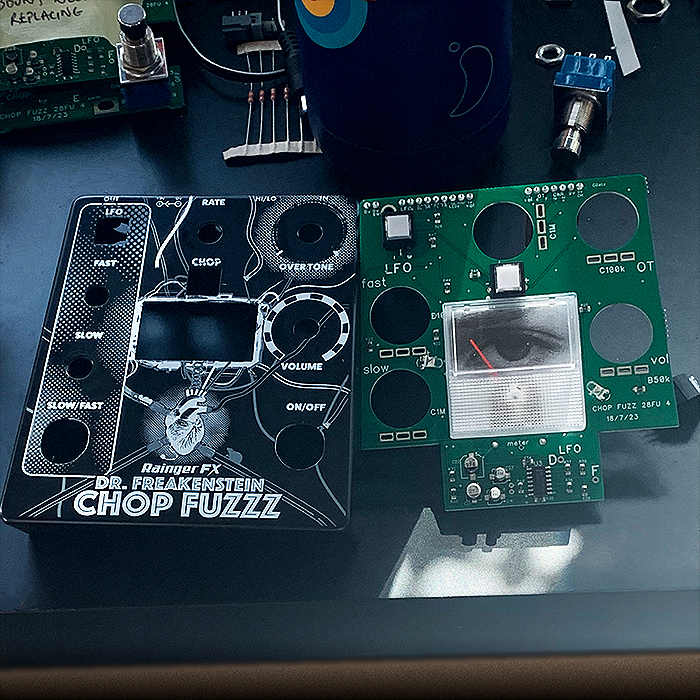
The enclosure nearing final stages here - with the VU-Meter and two square light-up switches in position.
Solder-Jedi Matt Ayres in action on Chop Fuzz build
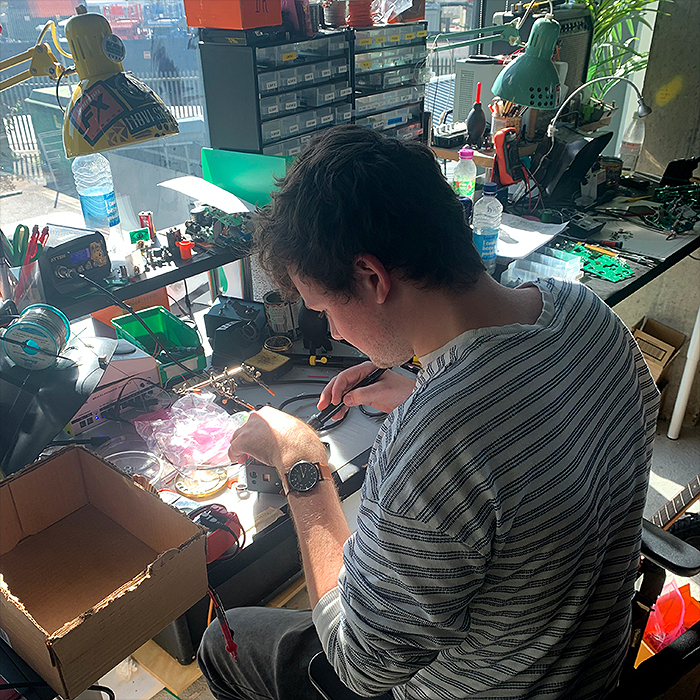
Newest Rainger FX Team Member Matt has very quickly made his presence felt with some particularly acute input and insights into the recent builds.
Prav's pride and joy - the new custom knobs and 3D-printed custom 'better setters' of his own devising
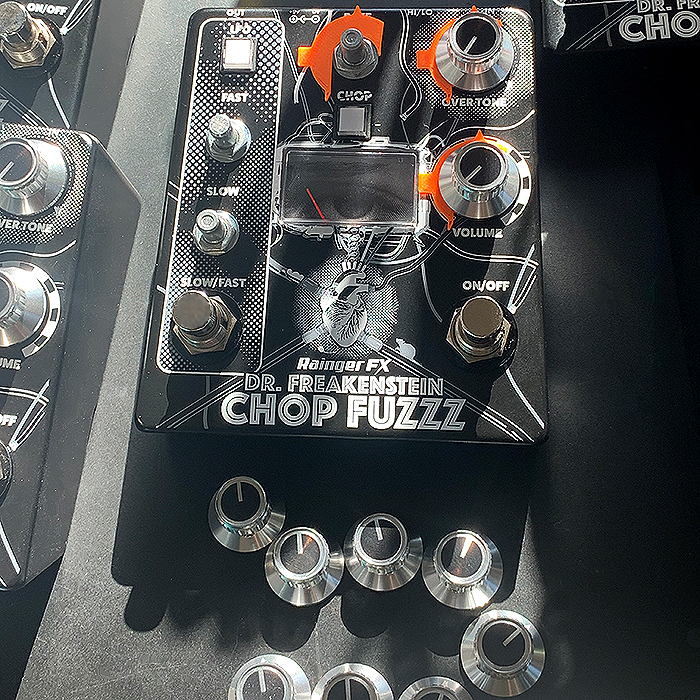
Since all the Rainger FX enclosures are non-uniform and typically 'angular' - it means that some of the industry standard tools that everyone else takes for granted - don't work for you - like the Peper's Pedals' Better Setter - meaning that Rainger FX frequently need to make their own custom tools - as Prav has done here with his own version of 'Better Setter' that works for the Chop Fuzz enclosure.
For this new Chop Fuzz there was also a requirement for custom skirted knobs - which Prav designed to great effect. However when those showed up from the factory - they did not have the upper sloped sides as specified, and the engraved arrow pointers were far too feint to be properly visible. So Prav and Matt came up with the 'sticker' solution you now see in place.
Various experiments were made to solve the arrow marker deficiency - and I feel they arrived at a genius solution - which fitted in exactly with those existing knobs. Each of those has a recess / lip at the top - which can accommodate a decal / sticker / paint effect to aid the visibility of the knobs. Various things were tried - and those black and transparent stickers - with clear plastic for the marker position just looked best - as if they were always supposed to be there - they were crisper and more in keeping with the original design than any other method. And I feel that this lucky serendipity has actually made the knobs better - and a far better fit for the look and feel of that enclosure - they really look amazing up close and personal! Also great to hear how quickly Prav and Matt came to a workable solution. Obviously this meant there were now 2 laborious 'stickering' tasks - these knob inserts, and the previously covered VU-Meter Eyeball sticker replacements!
The Intricacies of the Multi-Layer Drone Rainger Circuit Design
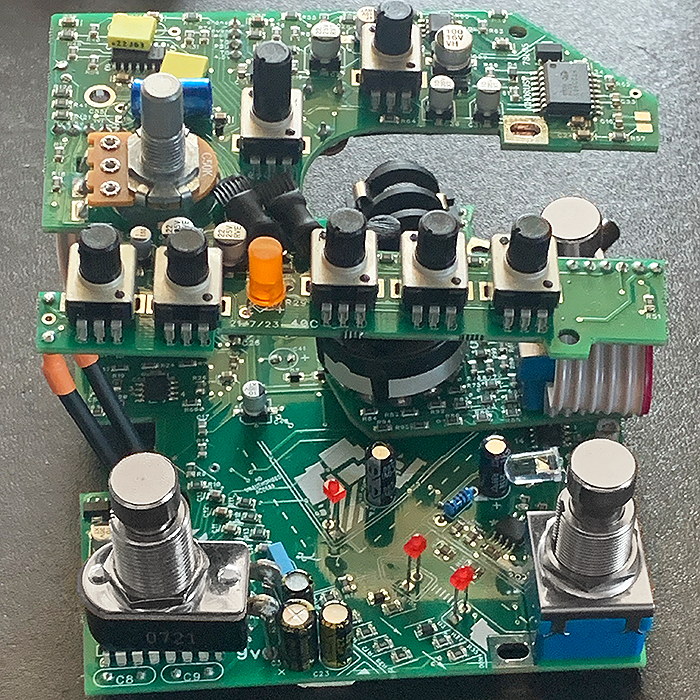
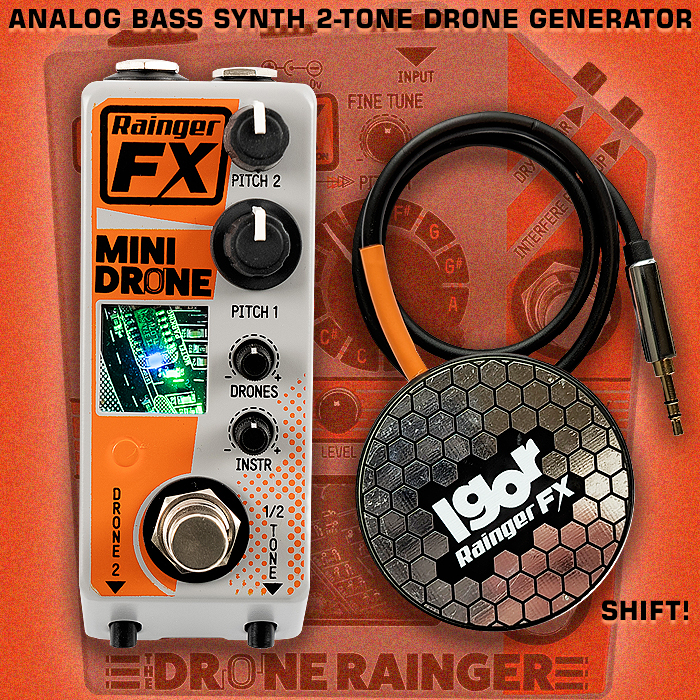
While I was at the Rainger FX workshop I also snapped a pic of a partway assembled Drone Rainger - which I believe is their most complicated build to date - as you can see - in fact so complex that if you look closely at the circuitboard - you can see it's a V-41 iteration!
Really cool to see the insides of that complex pedal in this manner! It so looks like a futuristic cityscape - the whole thing!
Just £279 inc VAT, and $279 exc. Tax - the coolest fuzz release this year for sure!

The Rainger FX Dr Freakenstein Chop Fuzz - 12th of that lineage, and 3rd of the specific 'Chop' varieties can of course be acquired from the Rainger FX Webstore, and is making its way to dealers worldwide already courtesy of MAS Distro.
I'm very grateful to have been on the inside of this project to a degree - wonderful to see it evolving to its final flourish.
I personally would like just a little more output volume here - that's my only teeny tiny niggle really, And I would quite like some way of slightly ameliorating the Chop element so that it doesn't quite dominate proceedings so much when it's engaged. Otherwise this is a pretty perfectly conceived and executed pedal. Props to the graphics designer Rich DiMaio too - who's done another brilliant job here.
It doesn't feature the cool mini cityscape of the Drone Rainger - but I feel overall this is David and Team's most accomplished pedal to date.
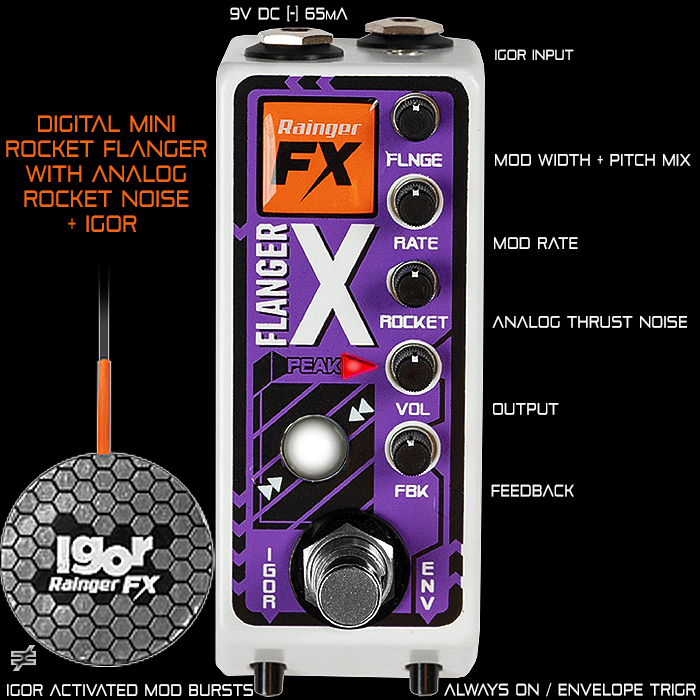
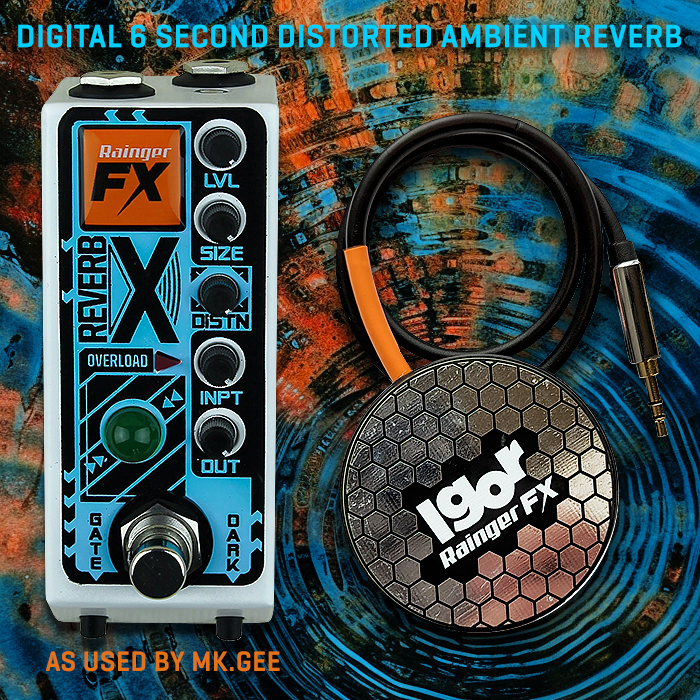
I would imagine lots of you would have days of fun with this - it's fairly unique in everything it does - including in its use of its own proprietary Igor Expression Pads - you get one with the device - but you really need two here to get the most out of it - so buy a spare - or use one from one of your other Rainger pedals - like the recent Flanger-X, and the very much in-demand Reverb-X - on the back of Dijon's Tour Band's recent YouTube Rig Rundown video and general use by the lead guitarist Mk.Gee!
Demos

